Beautiful, Custom Decks Built to Fit Your Lifestyle
Strong, stylish, and built to last — our decks bring people together and add value to your home. A deck is more than just an outdoor structure. It’s where memories are made. It’s where you spend time with family for cookouts and in peaceful solitude on mornings with coffee. A custom deck expands your living space and enhances your lifestyle. With unmatched craftsmanship and personalized design, our deck company builds outdoor spaces that are as functional as they are beautiful.

Deck Benefits
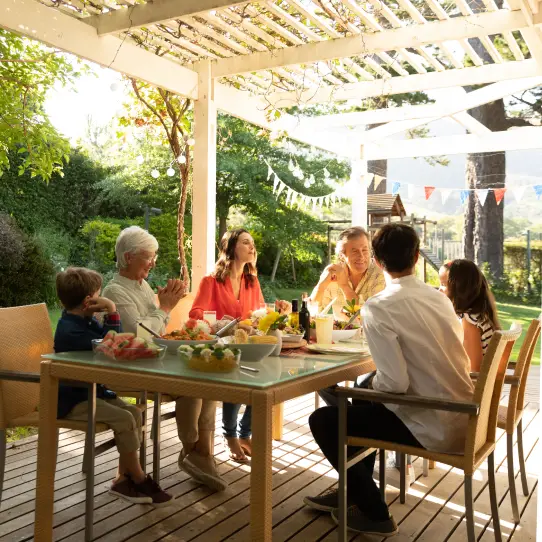
Social
Decks are the perfect space for cookouts, celebrations, and family gatherings. Expand your entertainment space.
Valuable
You can boost your home’s value with a deck — especially a quality one built to last.
Adaptable
You can choose from different styles and materials to fit your taste. You can explore composite decks, wooden decks, or PVC decks.
Types of Decks
PVC Decks
Composite Decks
Wooden Decks

Best of houzz
10x Winner
Best of Homeadvisor
5X Winner
KC Favorites
2025 silver
30+ years of experience you can trust.
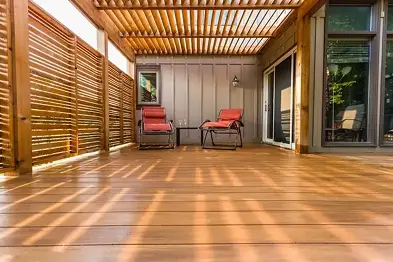
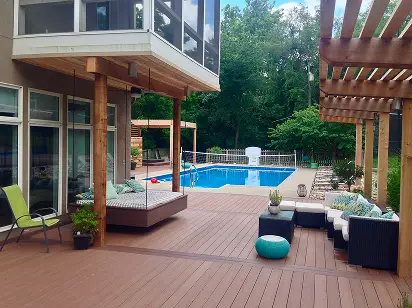
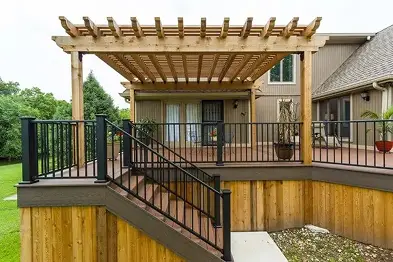
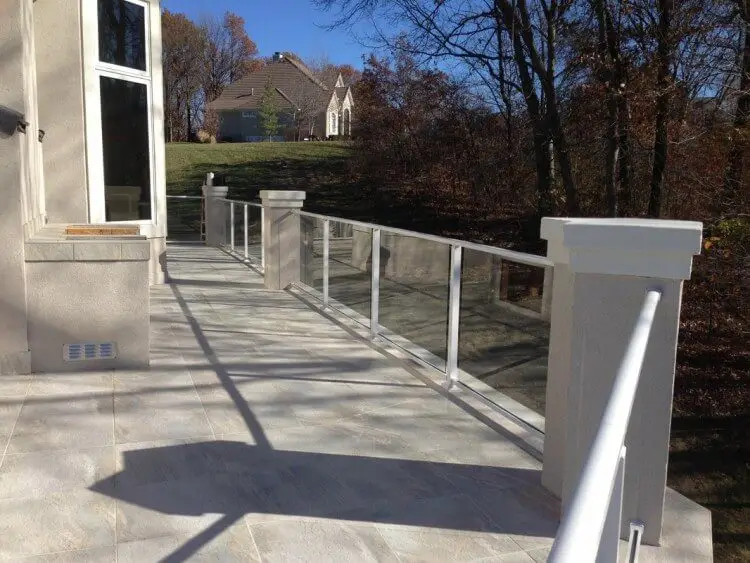
Custom Deck Inspiration


Our Process
Our deck company helps you choose materials that fit your lifestyle, factoring in deck size, sun exposure, maintenance preferences, and long-term plans. Best of all, we offer a free, no-obligation consultation.
Enjoy the ideal combination of style, strength, and easy care. You decide on the look you love, and we’ll guide you in selecting materials that enhance its beauty while keeping maintenance to a minimum.
When your vision is finalized, our skilled builders bring it to life, creating your outdoor oasis with expert precision, efficient project management, and a completely stress‑free process.
Ready to transform your backyard?
Need to finance your custom deck? We’ve got you.
FAQs about Custom Decks
How much does it cost to build a deck?
It depends on what you want. Materials, size, special features, and other factors all influence the cost of your deck. The best way to find out how much it costs to build your deck is to reach out for a quote so we can make sure to give you an accurate estimate.
What kinds of decks are there?
Creative Concepts is happy to help with whatever type of deck you decide on for your outdoor space — whether you want an attached deck, wraparound, or covered deck. You can look at our portfolio to see all the types of decks we can design and build.
How long does a deck typically last?
Deck life varies significantly depending on the material it’s made out of. The general rule of thumb is that you can expect pressure-treated wood to last 10 to 15 years with proper maintenance and composite or PVC decks to last 25 to 50 years with minimal maintenance.
Why can’t I save and DIY my deck?
DIY is always an option. But, there are permits to secure, insurance to think about, and there’s always a risk of making an error or suffering from an injury. Our trained team brings a level of craftsmanship and delivers results that just aren’t achievable by the typical homeowner.
What’s the best foundation for a deck?
The best foundation for your deck depends on your project’s needs and location. The most common foundations are concrete, helical piers, and deck blocks. Concrete tends to be the strongest and most durable for bigger decks.